Smart Mirror

I’m building a smart mirror for my refurbished bathroom. Starting with a damaged LED mirror as the base I already have half of the underlying infrastructure in place. The LED mirror was already wired safely onto the wall and the insulated steel frame had drivers, transformers and other electrical components inside. Since the mirror itself was damaged when I removed it to store during the bathroom refurbishment, I needed a new partly silvered glass and I ordered this in the excellent Mirropane™ Chrome Spy having selected this from the sample pack sent by Brigla-Therm.

Removing the old broken mirror from the frame wasn’t easy! In fact, it was downright scary slowly prising off shards of glass from their glue and I did it very, very slowly. Once removed, I cleaned the old frame and reattached the new mirror glass using bathroom silicone sealant. Light showed through from the overlapped areas behind the white tiled wall so I covered the overlapped sides using black tape.

I chose a VA type of monitor after looking at the discussions on the MagicMirror forum. Apparently these show better contrasts than TN or IPS types, although their response times are slower and less suited to gaming. That’s fine by me – I’m not planning to run anything fast moving on this display as the primary things will be static text and graphics.

The software is relatively simple; I saw one video where the builder said that ‘maintaining JSON was hard’. As a software developer I find it relatively easy so the approach I have gone for is to run the MagicMirror (MM) server remotely in a virtual container and use a browser on a very small client (Raspberry Pi Zero W) to boot and display a single page in full screen mode. I like and admire DakBoard but firstly it is a subscription instead of a one-off cost, and I feel it is also more geared towards the commercial smart mirror provider with billing plans for your remote clients.

I’d also like to control the monitor’s buttons using the GPIO from the RPi but I am uncertain at the moment how to do this. I’d also like to physically turn off the monitor back light when not in use but again not sure yet how this would work. Relays seem an obvious choice.

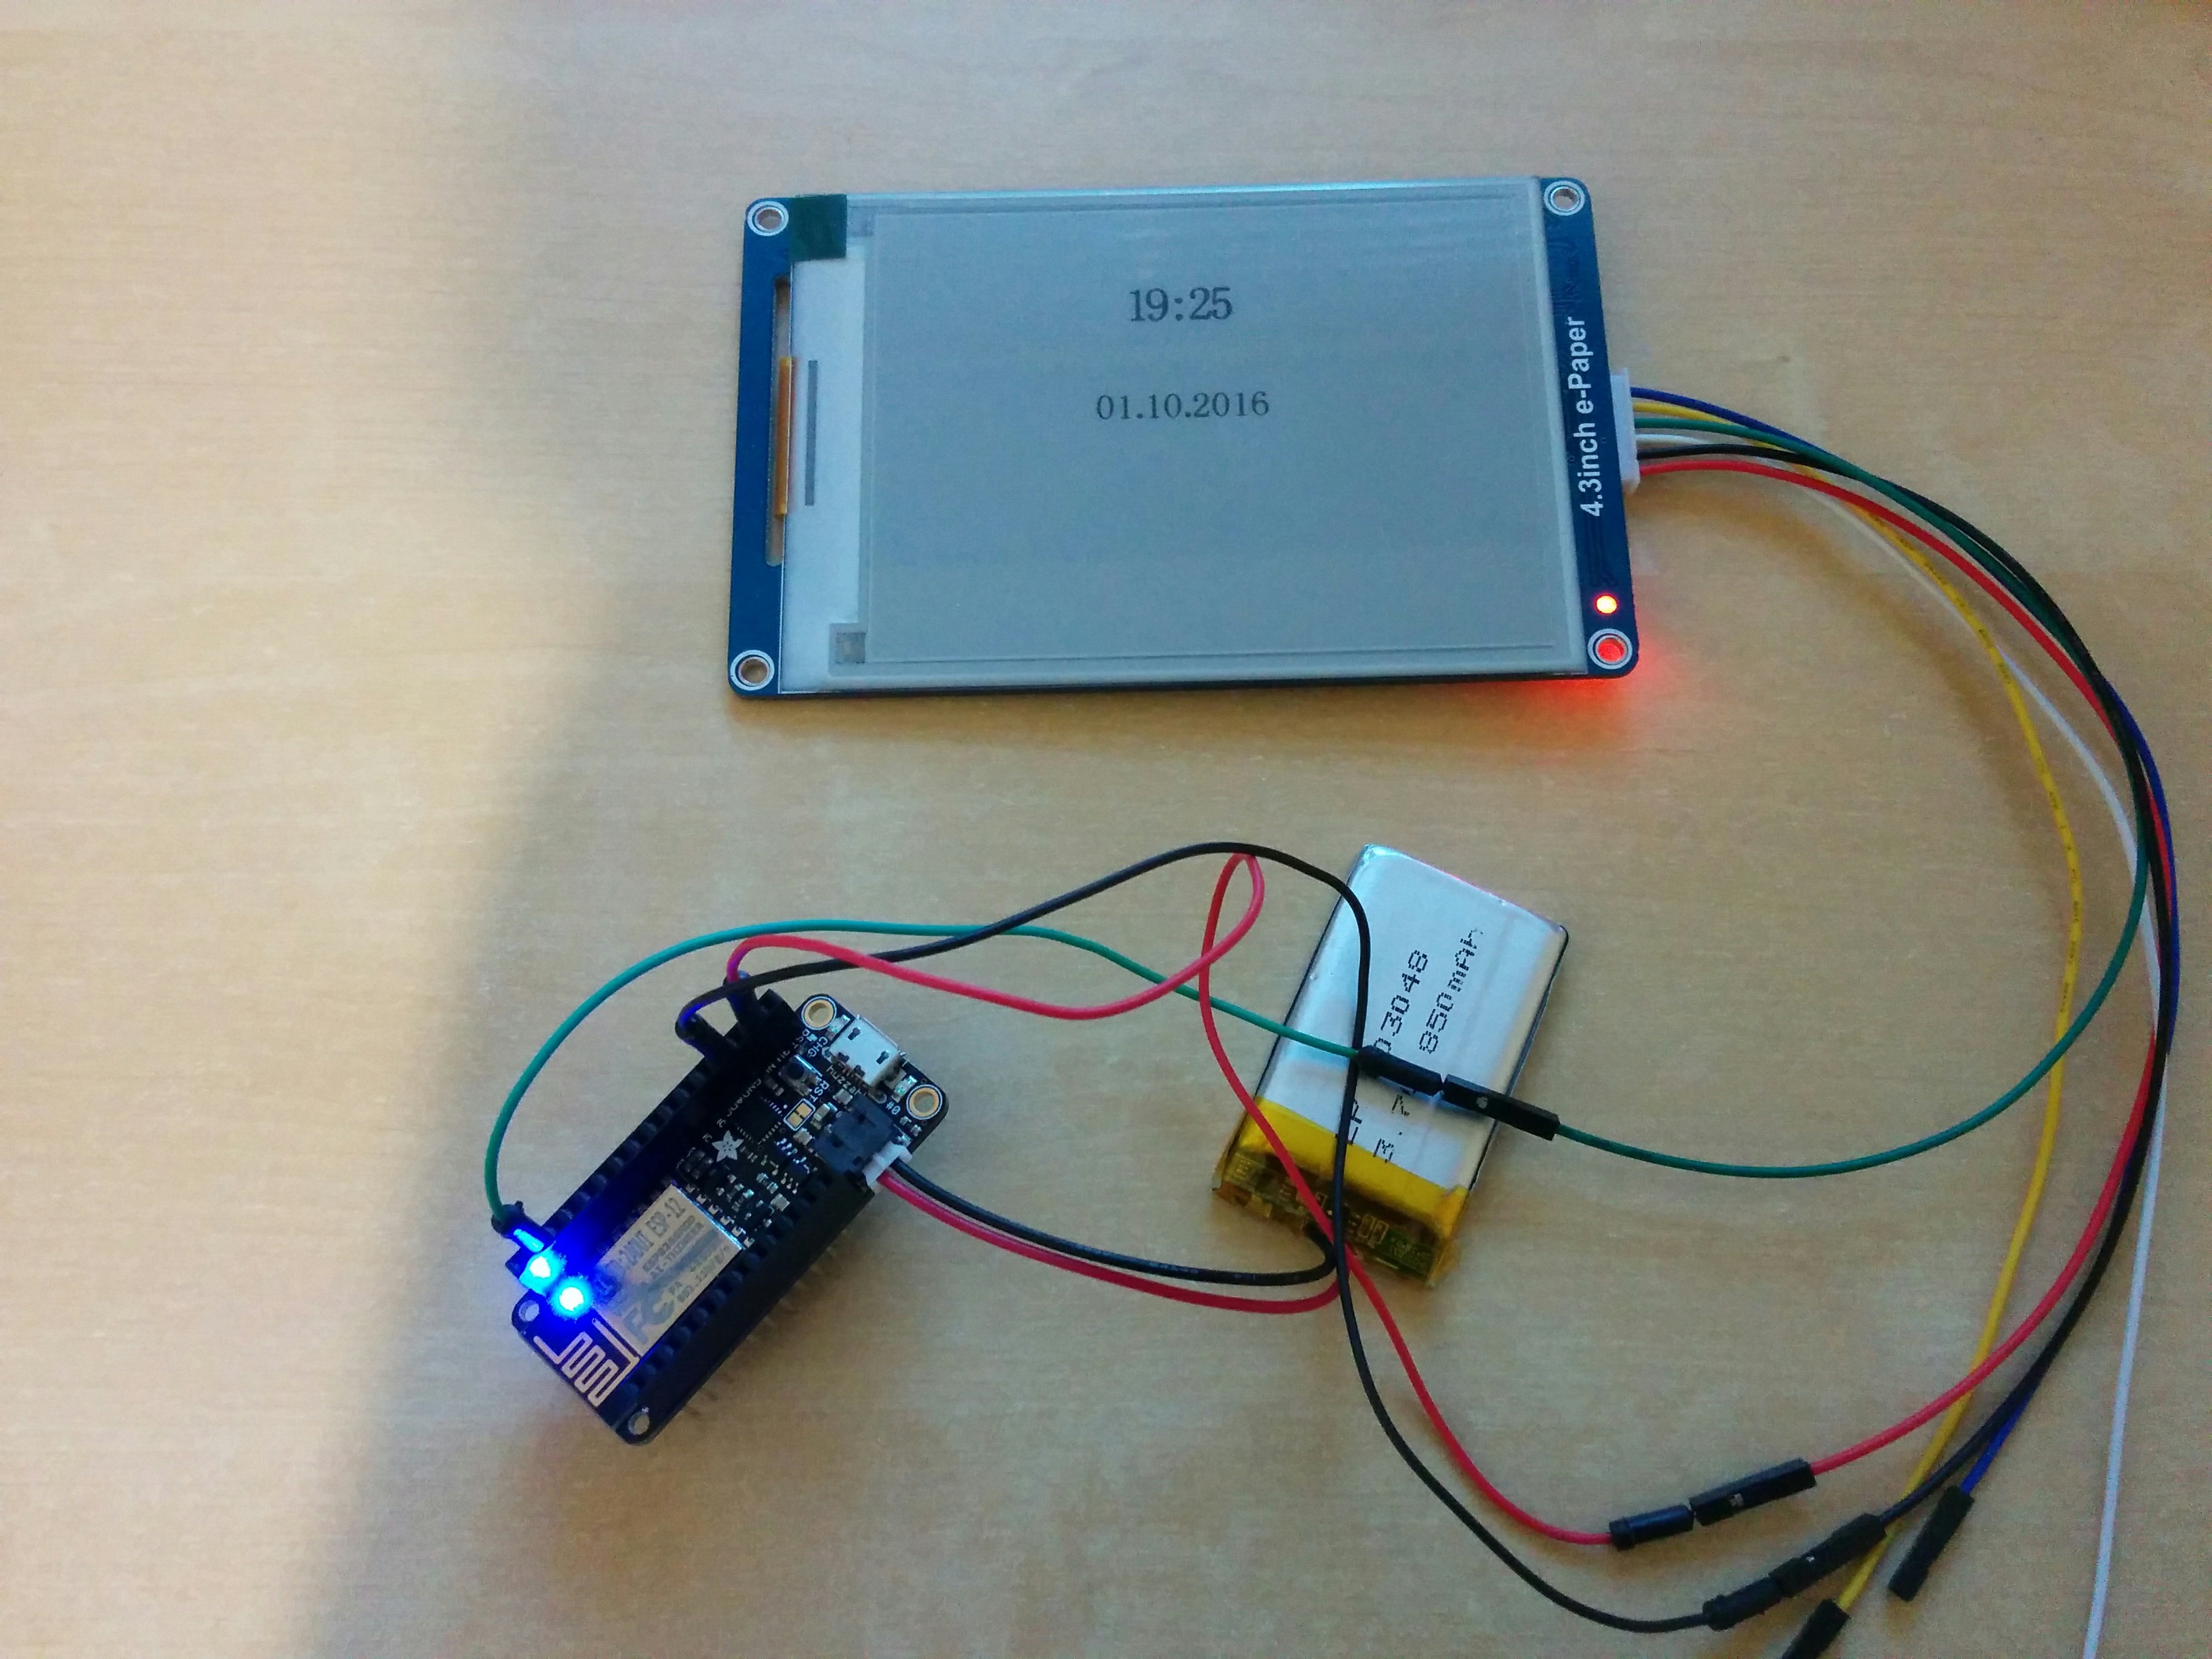
Power was a challenge as the space behind the mirror is limited particularly in the thickness dimension. Instead of the hulking wall-warts I have decided to build a small soldered breadboard with miniature power supplies to convert from the standard 230V delivered to the mirror into the 12V and 5V needed by the monitor and RPi.

Weather calendar: constrained memory

I am learning a whole lot more about the constrained environment of the microprocessor. For a start, you don’t have a Linux command line! And, perhaps more insidious, you do not have much memory.

Platforms such as Arduino or Pyboard have very restricted memory spaces, and in essence you ‘sit’ within the Python interpreter and run commands there. Actually it is not fully like this, some implement a REPL or some implement a server that takes FTP or Telnet commands, but it is very different from working even in a small single-board computer such as a Raspberry Pi or Odroid which have full Linux, command line shells such as Bash, and even desktops/browsers.

What happened was that I was getting along well with my project displaying weather patterns on the e-ink device and started retrieving more and more details on the controller, however after a short few iterations got memory errors. Thinking this just to be a problem of garbage collection, I called that method and got better iterations – but still eventually crashed out. It seems that the Json parsers and whatnot are leaking memory and no amount of garbage collection will help – and the direct calls to URLs for the weather services surely isn’t helping!

So, refactor.

I’ve now split the code into two components: a server component most likely running under NodeRED on one of my SBCs, and the display component which will simply take the weather readings from the server and display them, concentrating on what it does best.

I may also get advantages by using this method as it can run on smaller embedded devices such as the ESP8266 which do low-power much better than the fuller devices such as the WiPy2. Who knows, maybe months of displays without resorting to replacing the batteries?

Weather calendar: breakthrough

I had an epiphany after a few weeks of working on this weather calendar. It seems that the routine which works on CPython implementations (such as those running on Linux, Mac) and drives the ESP01 ESP8266 chip well, does not work so great when running on the embedded MicroPython.

I’d used a library which worked really great when operating the display remotely with the ESP01 driving it. That formatted the commands correctly and got the display to respond well. However on running this on the various MicroPython devices such as the Adafruit Feather Huzzah or the WiPy the display refused to respond, and on reading the Rx pin was sending “Error:20” back on each command.

The epiphany occurred when I saw the number of characters written to the output Tx pin:

------
A5000900CC33C33C - string
b'\xa5\x00\t\x00\xcc3\xc3<' - unhexlify of string
------
¥ Ì3Ã<¬ - string through H2B routine
b'c2a5000900c38c33c3833cc2ac' - hexlify dump of that
------
13 - size of output written to Rx pin
b'Error:20'

That second last line should have been ‘9’, as that was the packed byte length of the command plus parity bit. For some reason the routine in that library called H2B was putting an extraneous ‘c2’ at the start, plus some extra insertions in the middle and end.

I investigated and it seems that the binascii module will provide some of the same function, in particular the hexlify/unhexlify calls which pack hex representation into bytes, just want I want. Luckily those two calls are implemented in MicroPython, although others are not. If I can iterate the string and build a parity bit okay then I think I can build the correct commands needed by the display and drive it from a local Huzzah or WiPy device!

Still not out of the woods yet, by asking on the MicroPython forum why the leading ‘A5’ was converted into two characters it was helpfully pointed out that in hex that was 165 decimal, and I should use a byte string instead. That worked!

Last issue is how to convert between string commands which need parity bytes, and encoding these as byte strings without conversion and I will have cracked this one.

Weather calendar: Feather Huzzah

The Adafruit Feather range is a very nice set of development boards from the NYC company. They are a good form factor (approx. 5x2cm) and stack using appropriate headers. I particularly like the Feather Huzzah and initially went for these in a big way as they fulfil a number of criteria:

  • they can run MicroPython,
  • the processor boards are wifi-enabled,
  • and some added benefits like lots of additional addons (RTC, OLED, 7-segment displays) plus great tutorials on their web site.

Initial and ongoing experience proved that they were very easy to work with, and they worked as expected. However, the ESP8266 wifi-enabled board does not go into a really low-power mode, consuming about ~70mA normally and the deepsleep mode requires manual intervention. That will most likely mean that I can’t use it longer term for the driver on the display, but it will prove useful as a learning exercise on the way down the power ladder.

Using Arduino IDE

I initially started by loading MicroPython onto the board using the esptool flasher, but ran into an issue that I could not seem to find the correct pinout for the Tx/Rx. Using the ones marked on the board interferes with the USB – serial controller and you see spurious things on the link. So I backed off and re-flashed it with the Arduino IDE and a neat little bit of example clock code which works well, proving that the Tx pin works at least, and the battery powered Feather Huzzah can indeed drive the e-ink display.

img_20161001_182615

MicroPython

However, using micropython proves more difficult, as I cannot seem to find the correct Tx pin for UART 1.  Having flashed the 1.8.4 code level onto it using the instructions I initially tested UART(0), but as this is connected to the USB-serial chip you get all the USB traffic on those pins and so I looked to the write-only UART(1). I could not find which physical pin this was attached to even after trying all the pins one by one.

Weather calendar: ESP8266

The ESP8266 is an incredible little module produced by Expressif. It combines a little processor with a WiFi chip that can act as both a client to an existing wifi network, or as an access point to create its own network. At around $2 it is as “cheap as chips”!

I saw an excellent example of using a variant called the ESP-01 to run a remote e-ink display, along with the code to run this in Python. Whilst it was very attractive and had lots of function, it did not meet some of my earlier requirements of being low-powered as the ESP8266 chips still require about 70mA of current to run. So I could not run a battery powered system on this for long, although the simplicity of the setup surprised me in how easy it was to get the demo program working.

img_20160930_235422

I used a few websites to get started, preferring to connect to the ESP-01 using a CP2102 UART – USB module which I already had (and could set to either 5V or 3.3V – the ESP8266 uses only 3.3V). Once connected using the appropriate bits of wire and remembering that Tx-Rx and Rx-Tx on either board, I then had to set the ESP-01 into station mode, connect to my wifi locally, and start the server. Commands were roughly:

  • AT+GMR, to get the firmware version
  • AT+CWMODE=1
  • AT+CWJAP=”ssid”,”password”
  • AT+CIPMUX=1
  • AT+CIPSERVER=1,3333

… but see the sites referenced to better understand these modem commands and how the embedded server works. I like this chip and I’m going to order a few more just to have if I later want to wifi-enable more projects.

Links


Weather calendar: Pyboard

I found it very easy to get the Pervasive Displays e-ink working with the Pyboard once I discovered Peter Hinch’s github library. This not only made the display access easy but also helped with forming the fonts and digits.

img_20160926_151226

The components I used were:

  • LiPo battery, supplies 3.3V and my one is 850maH.
  • small plastic container
  • battery charger from Adafruit
  • Pyboard
  • RTC battery backup in the form of a CR2032 battery.

I also used another of Peter Hinch’s libraries to determine the ‘drift’ of my Real-Time clock on the board I have, and came out with a calibration of -145. Yours may be different, run the tests!

The code was simplicity as once I had set the RTC using the ‘finger’ method of waiting until the seconds changed on my desktop system and sending the command (this is bound to be perhaps 0.5sec wrong, but who cares?) then the battery backup along with the calibration setting should keep it reasonably accurate.

The problems were a couple: the blue light on the battery charger “was very bright” and kept my son awake at night in his room where we tested this clock, and the battery ran out after just a few days. For those who say ‘get a bigger battery’, I actually don’t care what size as the system I want to build should be able to run on a coin battery if needed – I really don’t want to recharge things constantly nor have a large lead-acid car battery sitting under my display.

Code was simplicity itself with just a few lines:

# MicroPython to display digital clock on Embedded Artists e-ink display
# Using epaper library from Peter Hinch
#
# (c) Doug Hall 2016

import time

import epaper

import pyb

a = epaper.Display('L', use_flash=True)
t = time.localtime()
rtc = pyb.RTC()

a.clear_screen()
with a.font('/fc/nunito64x68'):
 a.locate(50, 50)
 a.puts('{:d}:{:02d} '.format(t[3], t[4]))
 a.show()

rtc.wakeup(55000)
pyb.standby()

All in all a good first attempt at writing Python, using an embedded system, and getting an e-ink display running. Downsides were the Pyboard battery consumption, the Pervasive Display itself was a little small (and I ‘cooked’ one with wrong voltage!), and the large ribbon cable connections seemed unwieldy.

On to the next attempt…

Weather calendar, part deux!

Whilst some of my systems have worked, some have not. First up, I have no problem in getting a display on the e-ink displays which I have (a Pervasive Displays, Waveshare) using their demo programs and using either a USB connection or an Arduino.

Arduino

Simplest is the Arduino code and communicating to this via a USB connection, using the Arduino GUI on a Linux machine. This works!

PC

Second easiest is talking to the display directly using a UART connection from a PC, such as the CP2102 chip and driving the display via the USB cable:

  • Using a Python library works well.
  • Using the C code supplied by Waveshare themselves as a library – not tried but I assume it would work like the Python code.

Adafruit Feather Huzzah

  • running MicroPython did not work and gave a memory error
  • running the NodeMCU?

Eventually the memory error helped realised that I may have been approaching it like it was a large system, is there a way I can keep the memory requirements much lower and get the display working? The Huzzah is a good system, although it is a little power-hungry for my liking.

WiPy

Using a WiPy running MicroPython also did not work. I was a little disappointed with this as I think the system is a good one.

Photon

I’ve one of the little Particle.io systems and have played with it, but as the programming was not in Python not taken it further. It could be a possibility but I want to push the MicroPython boards to see if one can handle what I want to accomplish.

Pyboard

I have one of the v1.0 Pyboards from the Kickstarter campaign, and got this working driving the Pervasive Displays display. Mostly because someone else wrote the code and gave a great walkthrough for the wiring and soldering needed.

ESP8266

I’ve ordered a ‘raw’ ESP8266 as one Youtube video shows that working okay as an endpoint, with the Python code running on a backend laptop. I can get one of my small SBCs to do the driving. More on this later…

TXB0108

Logic voltages have changed over the years since the Arduino first came out, and modern chips are largely based around the 3.3V compared with the 5V of the early Arduino systems. Of course this varies and some are 1.8V and so on. I wondered if I were driving the display with the wrong voltage. The Waveshare site claims that the display can handle 3.3-5V okay, although I note that they say you feed it 5V when using their demo program to talk to a PC.

I tried to use a level shifting chip – the TXB0108 – which will either up-shift or down-shift the logic levels on the control lines (and not the voltage! – that I had to realise, so you still must supply 5V somehow). Whilst the results were tantalising, they were inconsistent when only supplying 3.3V to the display as often the updates would not come through and the screen looked ‘broken’.  Feeding 5V worked perfectly. Learning about level-shifting was fun, and may come in handy for later projects, but I’ve assumed that I need a 5v feed to the Waveshare display with 3.3V logic levels on the TX/RX and